Delightful Candy Cane Cake

I’ve made cookies, two delightful cheesecakes and now for the finale dessert: Delightful Candy Cane Cake. (I think I’ve named this a different thing every time, but I’m sticking with this one.) I’ve also figured out how to hyperlink things, so yay for now being able to add links to properly send the credit to the right people.

Image

For this cake I was going to go all out and make a homemade cake, but I ran out flour when I made Funnel Cakes for breakfast yesterday. So instead of braving -1 degrees with a windchill that makes it feel -19 out I’m staying inside. Besides, a box mix isn’t the worst thing. I just can’t say that it’s 100% homemade. I’m semi-okay with that. If I were to have made the cake from scratch I would have sent you guys to this website.

This is my baking toolbox. When I got it the two pastel colors next to each other left me feeling unexcited to pull it out and decorate with it. So I mod-podged a print onto it. Here’s a before and after picture:  

Image

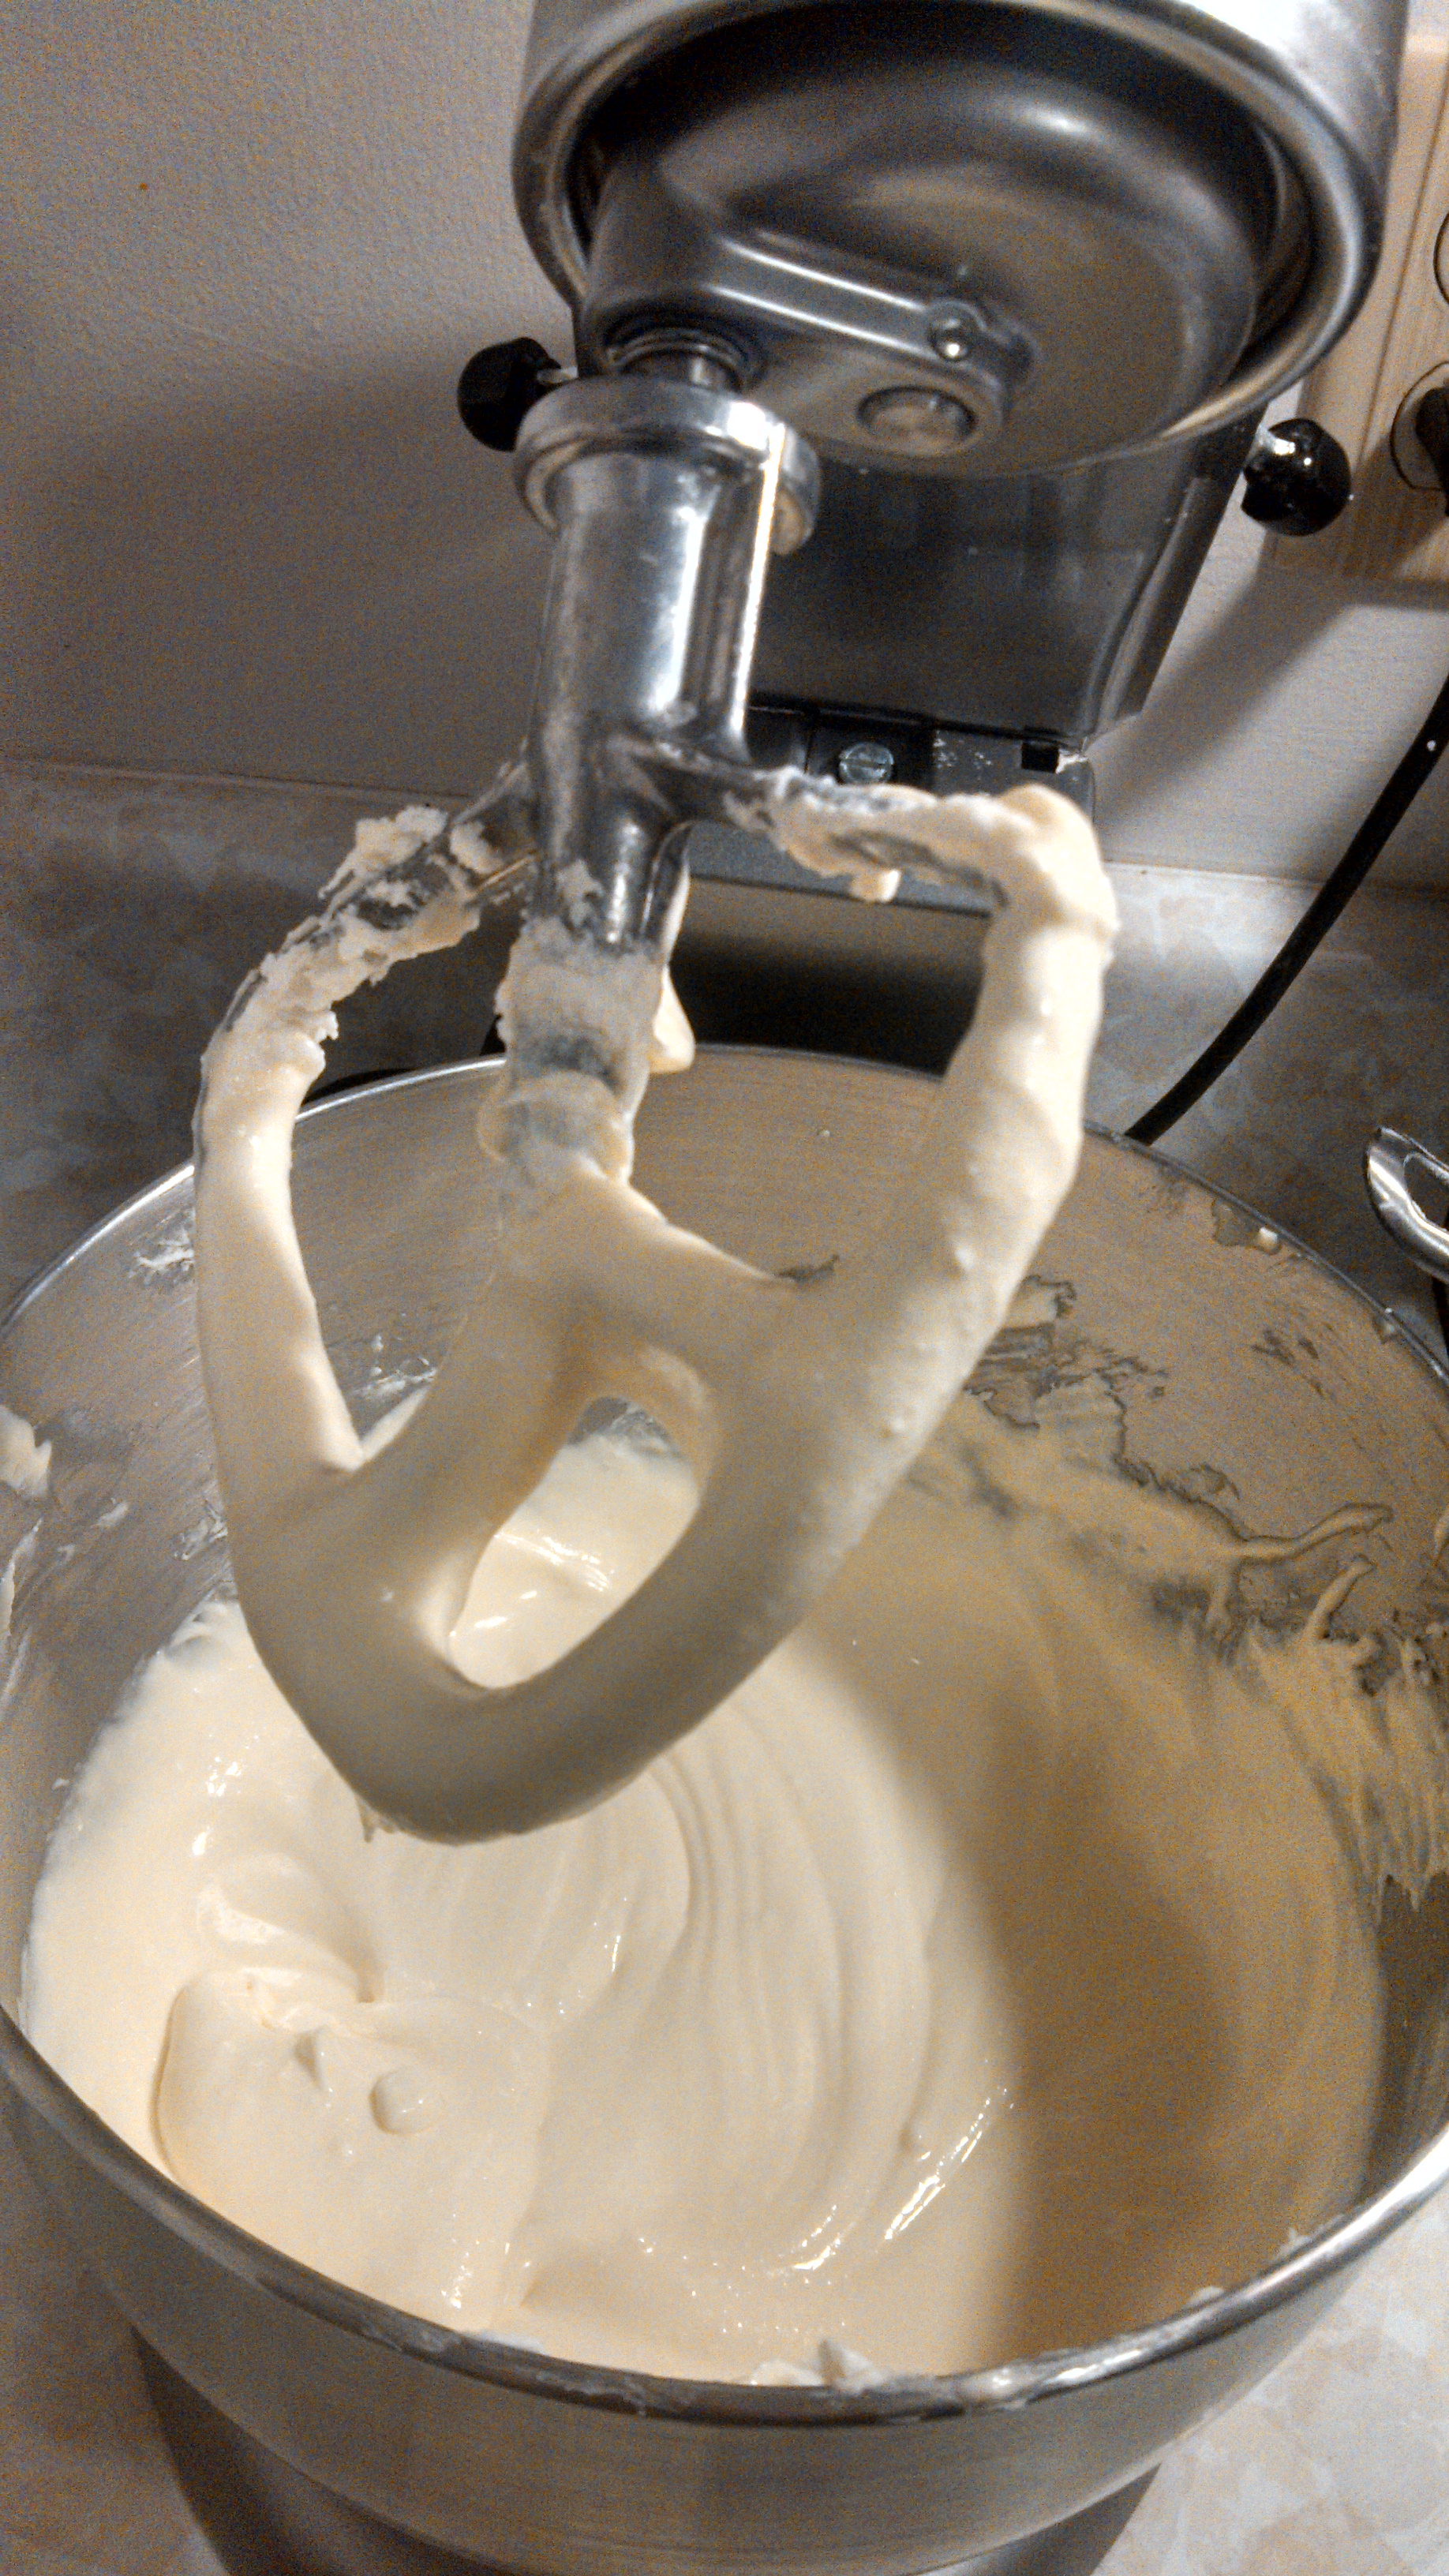
Back to the cake now. While they were cooling I started on the filling and frosting. For the filling I used the same Peppermint Whipped Cream that I used on the cheesecakes. I knew that for the butter cream I wanted it to be snow white, but I didn’t know that I would need meringue powder. So I used this crusting butter cream recipe. Since I added some peppermint extract to it instead of vanilla it ended up tasting a lot like the inside of a mint patty.

Once the cakes were cool I leveled them off and then started to stack them together. The filling was the perfect amount to put inside the cake and to also cover it in a crumb coat.

Image

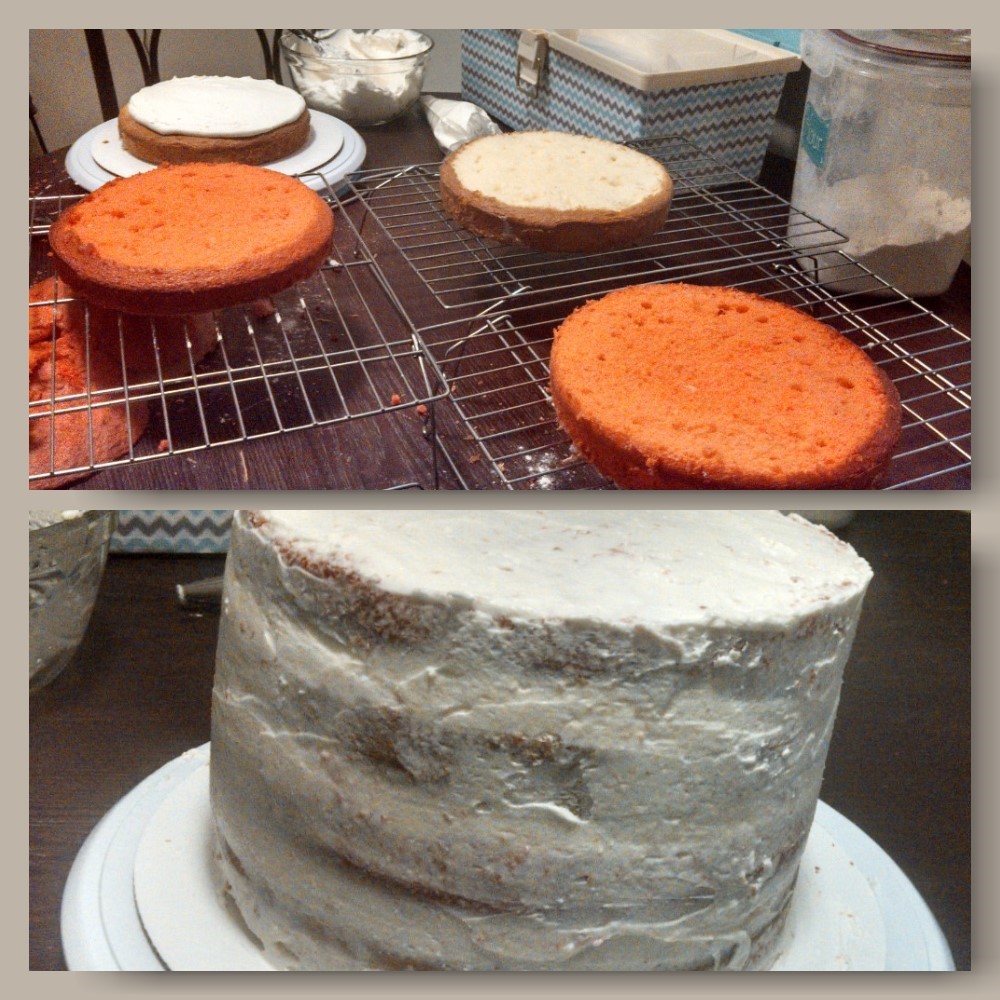
One day when I was scrolling through Pinterest I came across this. It looked easy to do and the end result is a simple yet elegant cake. Here’s a couple of my own pictures showing how to do it. 

Image

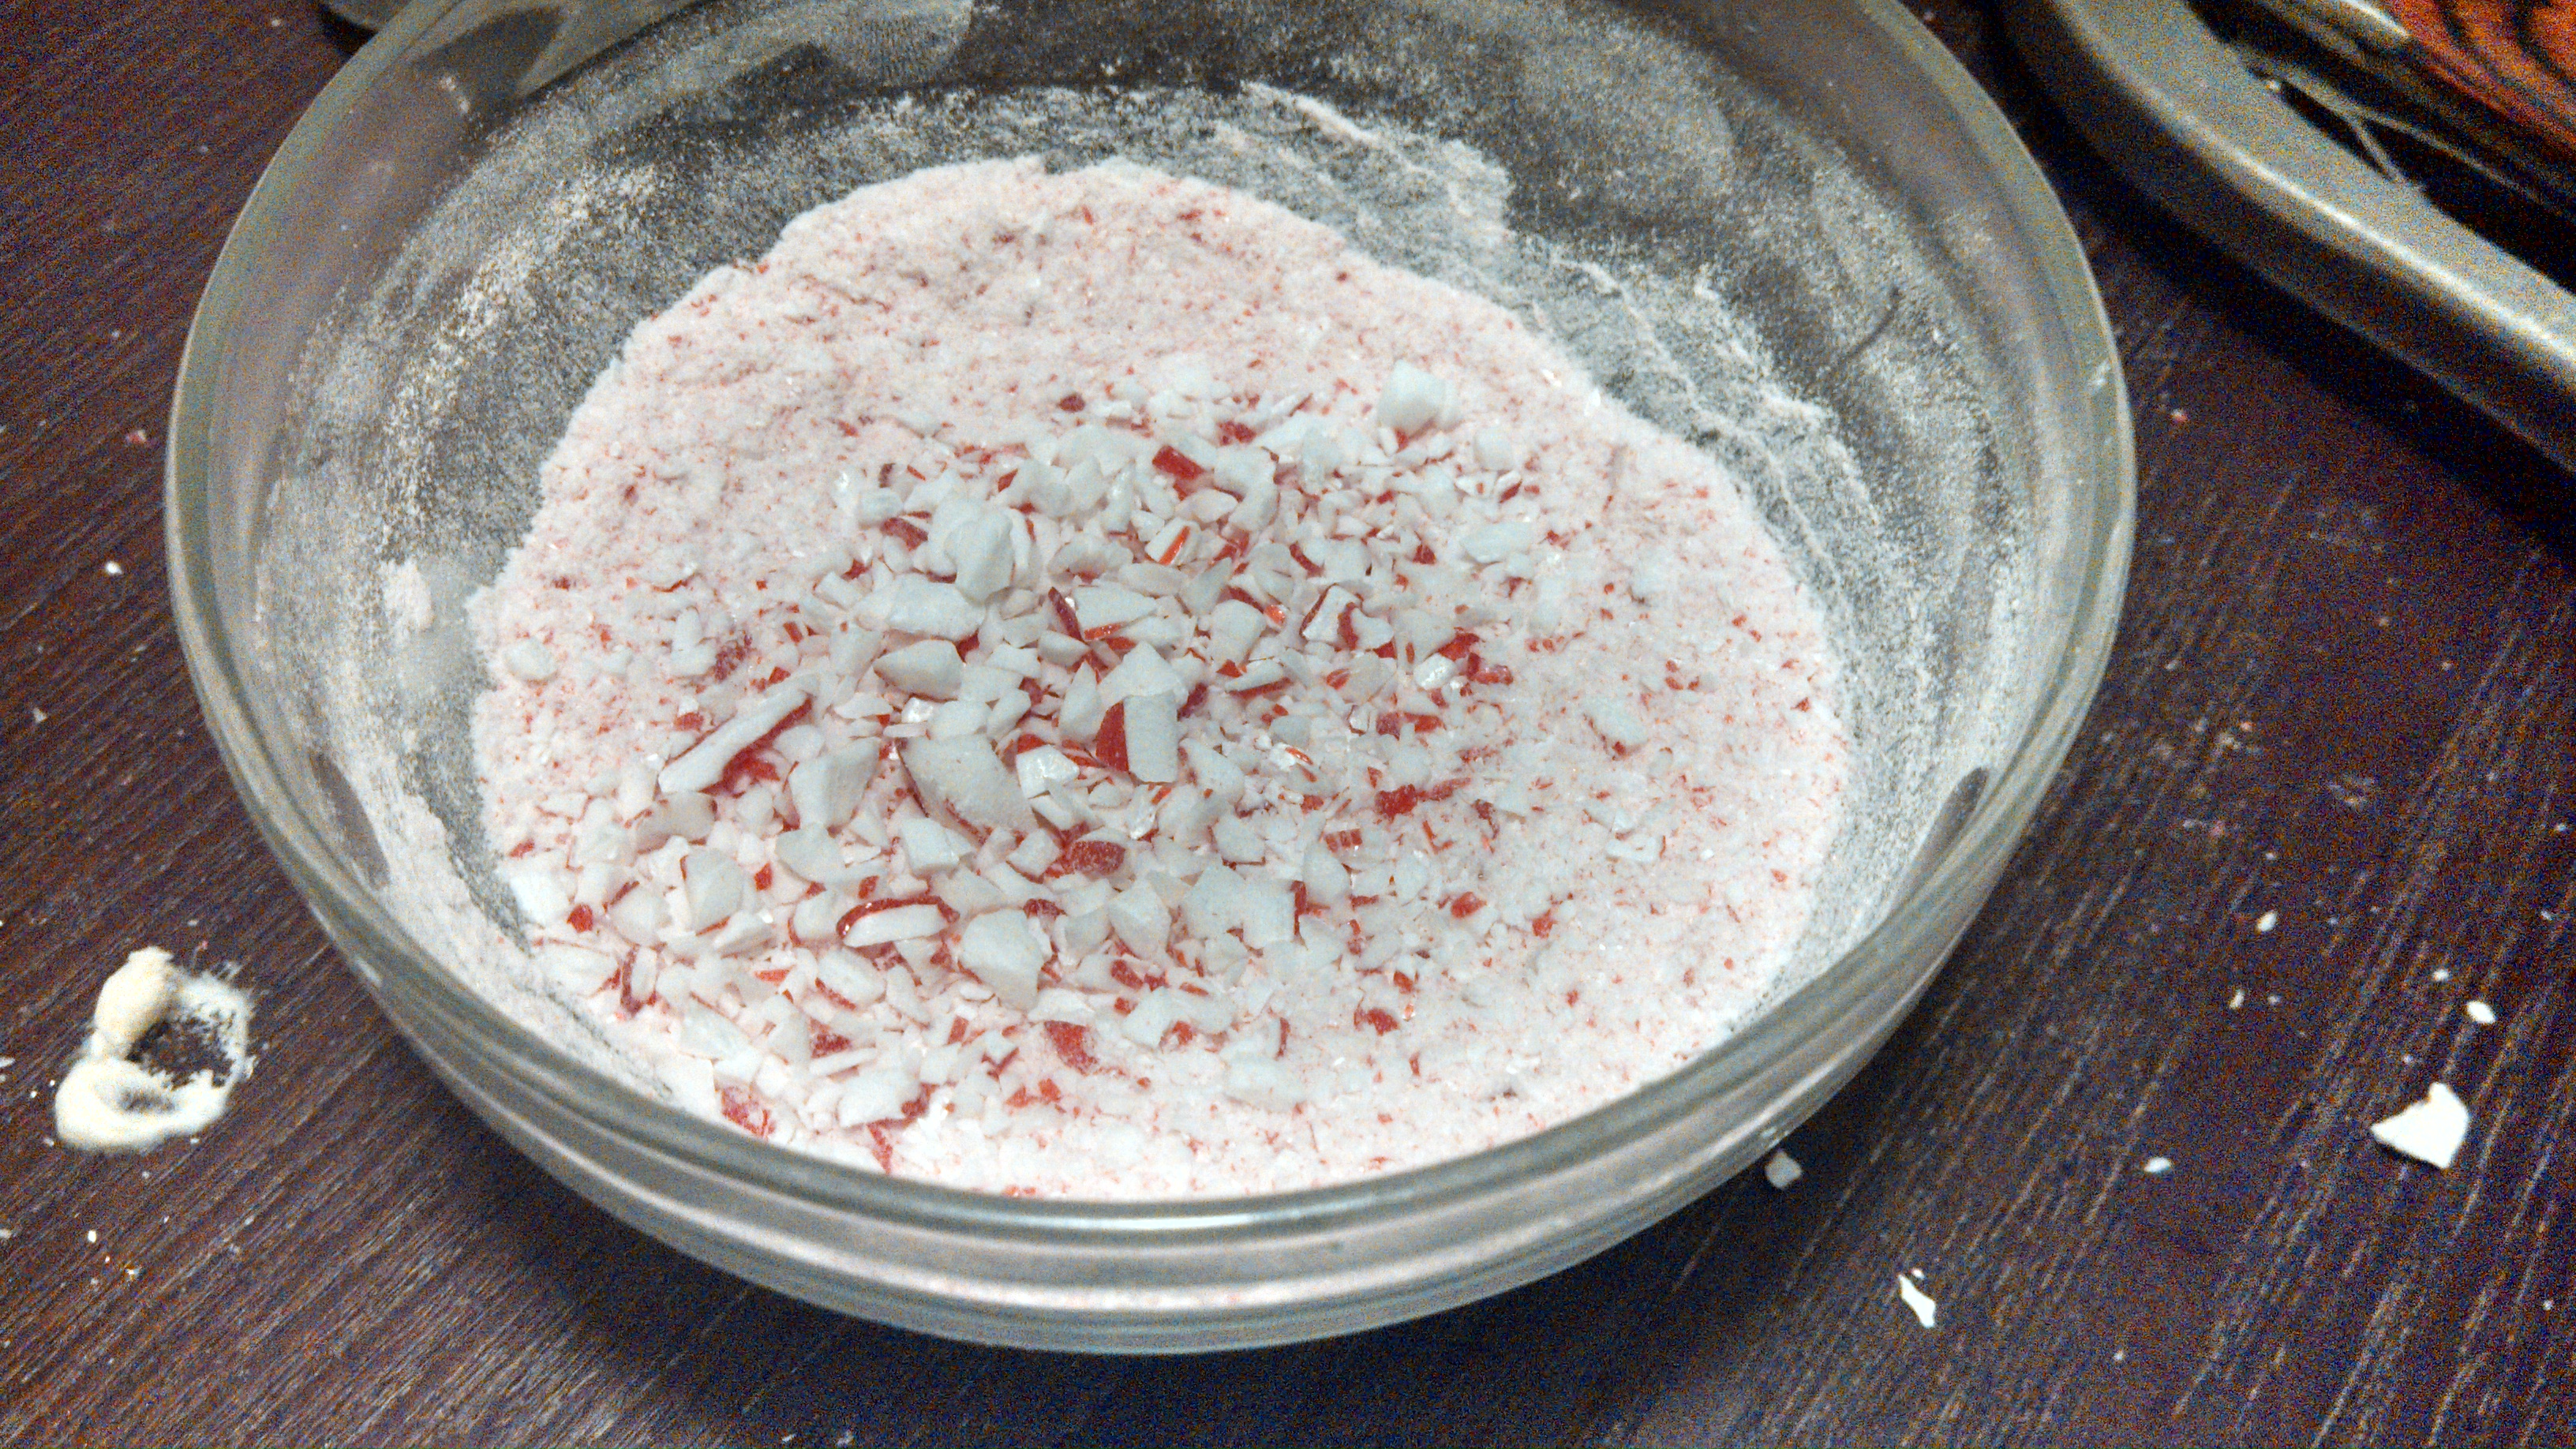
Once I was finished piping it I sprinkled the boarder with the same crushed candy canes that I used on the cheesecakes.

Image

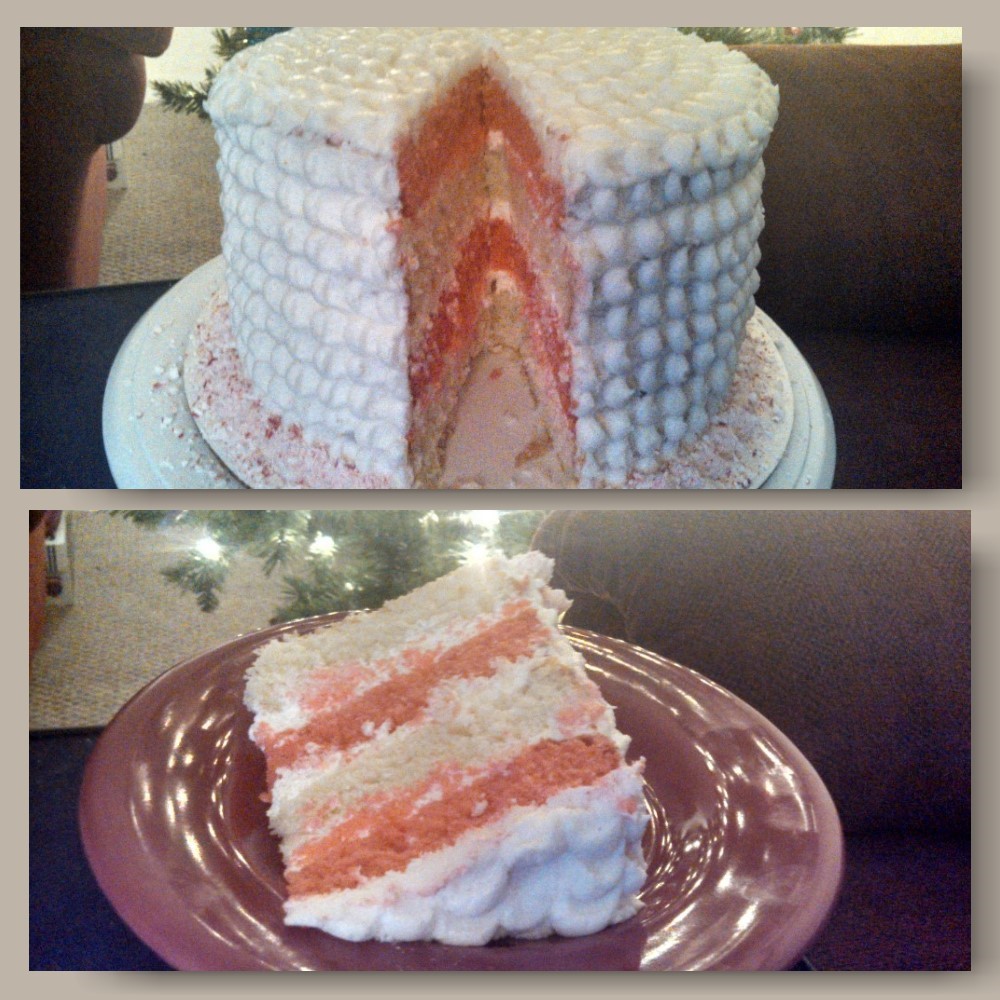
Again, since I’ve never actually made this before I had to cut into it just to make sure that I was sharing something worth sharing. Over all I would have put less peppermint extract in the butter cream. (I accidentally went pour happy on it.) I was pleased when I cut into it and saw this:

Image

Like I said in my very first post I wanted my desserts that I’m bringing to our family’s Christmas potluck to flow together. Here’s a recap of them all together:

Image


Well my Christmas baking is now complete. I really wish that I didn’t have to go back into the kitchen to clean and make supper. I should get going, but I will be back next week with something new and not peppermint. I hope that you have a wonderful Christmas and God Bless!

Mrs.Hess, out.


My Great Grandma’s Sugar Cookies

Image

This morning Sam received a phone call that we’ve been waiting to get for months now. We are super excited to finally tell people that we are moving to Maryland next year! I’m really proud and excited for Sam as he scored his dream job working at Navair. I married a genius. I’m one lucky woman. 

Anyways, I’m really tired. I meant for those cookies to turn out cooler than they did, but we all have our off days. As promised, I made my Great Grandma’s Sugar Cookies. I’ve tried multiple other Sugar Cookie recipes, but none even came close to how delicious these are. They’re just that perfect soft yet crumbly Christmas cookie that’s packed with flavor and memories. What more could you ask for from a cookie? 

Great Grandma’s Sugar Cookies

1 Cup Sugar

1 Cup Powdered Sugar

1 Cup Butter

2 Eggs

1 Cup Vegetable Oil

1 Tsp Vanilla

1 Tsp Salt, Baking Soda and Cream of Tartar

4 Cups+2 Tbsp Flour

Preheat oven to 350 degrees. Recipe makes about 3-5 dozen cookies, depending on how you shape them. 

First, cream together the sugar, powdered sugar and butter. Second, add the eggs, vegetable oil and vanilla. Then beat until it’s nice and fluffy.

Image

Then you’re going to add the salt, baking soda, cream of tartar and flour. Stir it together and cover it with plastic wrap. Then put it into the fridge. Cool it for 4 hours or overnight.

Once you take it out of the fridge it might be pretty solid. If you work it out with your hands it’ll soften up pretty fast. Then you can either roll the dough into 1 inch balls and squish it down with a glass or flatten it out to cut out with cookie cutters. Line your cookie sheets with parchment paper and put them into the oven for 10-14 minutes. Make sure to pull them out before they start to turn golden otherwise they might over bake.   

Image


There you have it, my Great Grandma’s Sugar Cookies! I hope that you enjoy them as much as I do. I will be back later this week (after I take a ton of naps) with a cake. God Bless and have a great Monday! 

Mrs.Hess, out.


Candy Cane Delight Cheesecake

When I was a kid I always thought that people were crazy to be eating Cheesecake. Who in their right mind would enjoy eating a cake of cheese? So I never touched it until I started college. I remember the first time I took a bite of it and realized that it wasn’t a block of mozzarella cheese, but a bite of creamy bliss on a fork. Since then I’ve been a cheesecake fanatic because I had lost 18 years of the best dessert in the world. This is a base recipe that I found somewhere on the internet a while back, but that link is saved on my dead Mac-book. It’s a recipe that gets reviews such as, “Where did you buy this?” “This is the creamiest cheesecake I have ever had.” A family member even cut a cheesecake into sample slices and brought them around the room to make sure that everyone had tried it. It is such an honor for me to watch people enjoy something I poured my love into.  Also, this recipe is super easy to make and alter to fit whatever food-mood you’re in. Caramel, chocolate, peppermint, etc. 

Image

Another reason why I enjoy making cheesecake’s so much is because it goes perfectly with this Whipped Cream Frosting that I found on Just A Pinch. Whipped cream is also really easy to alter to taste like any extract that you have. It’s also a perfect texture to pipe with and makes a delicious filling for cakes. Okay, enough typing. I’ll get to the good stuff now.

Ingredients: 

Cheesecake:

3 (24 oz) Cream Cheese. If you’ve frozen it make sure that it’s fully thawed out. 

3/4 Cup Sugar

3 Large Eggs

1/2 Tsp Peppermint Extract

Red Food Coloring

Graham Cracker Crust

Note: This is going to make enough filling for 2 Cheesecakes, but I’ll be making a Chocolate Peppermint Delight Cheesecake with the second one. If you’re going to be following along with that one I also bought a chocolate graham cracker crust.

Second note: You’re going to preheat your oven to 450 degrees to start out with, but then be putting it down to 250 later on.

Peppermint Whipped Cream 


1 (8 oz) Cream Cheese

1/2 Cup Sugar

2 Cups Heavy Cream

1/2 Tsp Peppermint Extract

First, mix the cream cheese and sugar together until they’re well mixed. Then start adding the eggs one at a time making sure to mix well after each one. Then add your vanilla and mix on medium until you achieve a creamy texture. About 5 minutes or so. My secret for achieving a creamy cheesecake is letting it mix until it looks like this:

Image

Then you’ll be pouring a 1/3 cup of the batter into a separate bowl and then evenly distributing the batter into 2 different graham cracker crusts. (I did one graham cracker and one chocolate.) 

Go back to that 1/3 cup of batter you left out and put the 1/3 tsp of peppermint into it and mix it up with a spoon. Then add some red food coloring to it and stir. I used Wilton’s No-Taste-Red. 

Image

Then mix it in with the graham cracker crust. I used an Angled Spatula to mix everything together, which I only took a picture of doing when I was making the chocolate one. 

Image

Please learn from my mistake and don’t make the swirl design on the cheesecake. It just ended up cracking, which didn’t matter much because I was going to cover it with frosting anyways. 

Then you’re going to pop it into the oven, which should be preheated to 450 degrees. You’ll bake it for 10 minutes and then reduce the heat to 250 degrees and cook it for another 25 minutes. When it’s done turn the oven off and open it to let them cool off for 30 minutes. Then transfer them to a cooling rack for 15 minutes and then put them into the fridge for a half hour. Meanwhile you can start on that Peppermint Whipped Cream. 

Wash up your mixing bowl and tools because you’ll be using them for the Whipped Cream. Then dry them and add the cream cheese, sugar and peppermint extract. With your batter attachment mix them together. (I always forget to do this and start out with my frosting attachment.) Then switch out the attachments and start to slowly pour in the heavy cream. When I first made this it almost defeated me because it just wasn’t peaking, but then I walked away from my mixer for 10 minutes with it on medium-high and came back to this beauty:

Image


This was my first time putting peppermint extract into it and it tasted so delicious that I even used some as a dip for my Great Grandma Spritz Cookies that I made yesterday. 

Fill up a frosting bag and throw it into the fridge to get nice and cool to pipe with. I used the 12 point star-tip.

Now it’s time to crush up those candy canes. 

Image

By now everything should be cool enough to start decorating it. I started by covering it with a layer of Peppermint Whipped Cream. Then I did a swirl effect with my Angled Spatula and sprinkled the crushed canes along the lines of it. Finally I was on my favorite step- piping it. Here’s the finished outcome again:

Image

I’m off to go and finish decorating the Chocolate Peppermint Delight Cheesecake. I hope that you decide to follow along with that one, too. The two of them are a perfect pair to make any peppermint and chocolate lover happy. I’ll be posting that one in an hour or so. 

Mrs.Hess, out.

Great Grandma’s Spritz Cookies

I am so blessed to have gotten 29 views on my first post. It fills my heart to know that my recipe has made it’s way into other people’s kitchens. I was also blown away to see that three people who viewed it were from Germany, meaning that my recipe made it’s way overseas. Because of you, my viewer, I couldn’t wait until next week to get back into the kitchen. 

For me recipes are way to connect to strangers and even past relatives. Since I’ve gotten married it has opened up a new window of conversations with my Grandma’s. It’s like becoming a wife suddenly made me part of a secret kitchen world with an abundance of family recipes. I suppose now that I’m married it’s my job to make sure that the recipes get passed on to my future children and onward, which I am very happy to do so. 

This week I’ll be sharing one of those “secret” recipes, which is also my favorite holiday cookie which is the Spritz.  I have so many memories of eating Spritz. From sitting with my back facing my Grandma Sharon’s wood fireplace on Christmas Eve to hiding as many as I could from the rest of my family. I was the Spritz snatcher and because they’re such a tiny cookie I probably ate more than I should have more than once. But that’s what kids do, they eat all of the Christmas cookies. 

Image

Ingredients: Makes around 60 cookies

1 Cup Butter

1 Egg

3/4 Cup Sugar

1/2 Tsp Almond Extract

2 1/3 Cups of Flour

1/8 Tsp salt

Preheat oven to 350 degrees.

First cream together the butter, egg and sugar. Then add the almond extract, flour and salt. At first it might seem crumbly, but just keep on mixing it until it gets a nice smooth texture. (About 3-5 minutes.) 

Sam’s grandma kindly gave me a really awesome Spritzer. This Spritzer came with a lot of different shapes, including a dog and a camel. I have no idea when I’d ever use them, but they’re pretty cool. If you don’t have a Spritzer you could just roll them into 1 inch balls and flatten them with a cup, like you would do with Sugar Cookies. Then sprinkle them with some colored sugar and pop them into the oven. 

I baked mine for 8 minutes, but you will want to pay close attention to them. If they get past a golden brown then they will be over-baked. 

Image

I pulled mine out just when they started to get golden on the edges and they turned out perfect.

Another thing that my sisters and I did when we would make these with my Grandma was to mold our own shapes with the extra dough that couldn’t fit into the Spritzer. So I made an H for Hess with my extra dough.

Image


 I may or may not have eaten 12 Spritz cookies while writing this blog. Let’s just say that it’s a good thing that I’m mailing some of these to friends and that I have a husband who will gladly eat most of them. 

I’m really itching to get my hands on an icing bag so I might be doing my cheesecakes earlier than planned. I live in Western Minnesota where our high has been in the negatives the past week, so I have a huge freezer right outside. So I might be posting those by this weekend. 

Have fun baking things for Christmas my friends and God Bless.

Mrs.Hess, out.